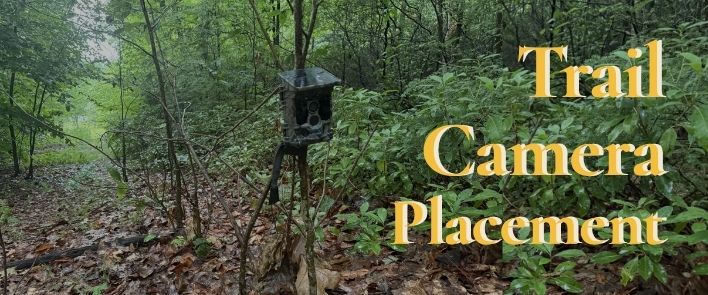
Before: Trail Camera Placement
Before mounting a camera, decide what you’re trying to capture. The best location for you, will depend on your goal.
- Backyard wildlife: Feeders, gardens, or natural travel paths.
- Deer or game: Bedding areas, trails, food plots, and scrapes.
- Home security: Driveways, gates, garages, and entry points.
- Bird watching: Slightly elevated, aimed toward feeders or favorite perches.
2. Choosing the Right Spot for Wildlife
Game Trails & Funnels
The animals on my backyard always pass by the camera in the exact same pathways. I can see their worn paths and I definitely see their poo. My camera is about 80 feet behind my grass line, on a trail shared by myself and my neighbors. I noticed the path, then added the camera, then saw the animals nonstop.
Feeding Areas
Food plots, mast trees, or bait sites can catch consistent activity. Keep your camera facing an open area that you suspect could be an animal pathway. Avoid pointing it the camera directly into the sun, which will wash out your images.
Water Sources
Ponds, creeks, and muddy crossings attract wildlife throughout the year. Mount the camera on a nearby tree about 5–10 yards away and aim toward the shoreline or crossing point.
3. Home Security
Trail cameras can also work well for monitoring your property. However, I personally use 2 outdoor Nest Cameras because the clarity is SO good and you can save videos and look back for 30 days at a time. My family uses it more for entertainment if someone falls, we all laugh a second time together ;] In my opinion, Nest cameras are far superior to trail cameras.
Entryways & Driveways
Mount the camera about 6–7 feet high and angle it slightly downward. This provides a wider view while reducing glare from headlights.
Outbuildings & Sheds
Position the camera to watch doors or windows. A no-glow infrared camera is ideal if you don’t want the camera drawing attention at night.
4. Height and Angle
For general wildlife, I usually mount cameras about 2–3.5 feet off the ground with a slight downward tilt. That simple adjustment helps keep the entire animal in frame.
I also pay attention to the sun. If possible, I aim cameras north or south to avoid the harsh morning and evening light that often causes false triggers and overexposed images.
Read my post about the perfect height to mount your trail camera here.
6. Test Before You Leave
Save yourself some trouble and test the camera before you walk away. Is it the height you want it, is anything obstructing the view? Check to see how much sun is coming through the trees, will the sun trigger the camera nonstop?
Three extra minutes can save you a whole lot of disappointment and being annoyed at your trail camera.
8. Place Cameras Responsibly
Don’t be weird. Don’t place a camera pointing at someone elses’ yard. Also, don’t disturb any animals by putting a trail camera in their space.
Looking for Gear?
If you’re still deciding which trail camera to buy, check out my Best Trail Cameras of 2026 guide, where I compare my favorite stealth, solar, and cellular models.
Ready to buy your first camera? Check out my top beginner trail camera picks.
Sick of replacing batteries nonstop? Go with a solar trail camera and thank me later.